校友交流平台作为一个具备门户网站服务、后台管理功能的完整项目,可以部署上线使用,线上部署需要注意些事项,本文就开发过程做个记录。
一、项目编译
校友交流平台是基于maven构建的多模块项目,ar-parent是父模块,ar-common、ar-manage、ar-portal是子模块,ar-common中主要存放一些实体类、与数据库交互的Mapper文件以及一些基类和工具类,ar-manage、ar-portal皆依赖ar-common,在编译时需要首先编译ar-common并安装到本地,但其实编辑顺序maven可以自行判断,只需要执行编译命令即可。
1
2
3
4
| ├─ar-parent
├─ar-common
├─ar-manage
└─ar-portal
|
该项目配置了maven编译插件maven-war-plugin,推荐在本地编译项目不建议在服务器构建,项目将以war包的形式部署到tomcat,在ar-parent目录下执行编译命令。
1
| mvn clean && mvn install && mvn package
|
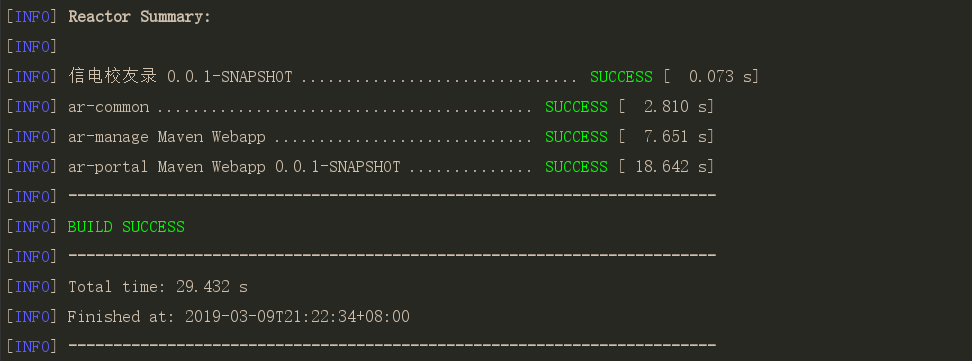
编译完成后可看到如下日志:
 项目构建
项目构建
构建好的ar-portal.war在ar-parent/ar-portal/target/目录下。
二、服务器配置
本文以服务器Ubuntu16.04,JDK1.8,Tomcat8.5为例
2.1 安装JDK1.8
添加Oracle的PPA(Personal Package Archive),
1
| sudo add-apt-repository ppa:webupd8team/java
|
添加完成后依次执行如下命令:
1
2
| sudo apt-get update
sudo apt-get install oracle-java8-installer
|
安装成功后验证下:
设置java的环境变量:
1
| sudo vim /etc/environment
|
文件末尾添加如下内容(替换自己的java路径):
1
| JAVA_HOME="/usr/lib/jvm/java-8-oracle"
|
最后重载环境变量:
1
2
| source /etc/environment
echo $JAVA_HOME
|
2.2 安装tomcat
下载Tomcat8.5至服务器,建议放在 /opt/ 目录下解压缩即可。
tomcat默认使用8080端口,可在conf/server.xml中配置端口,
1
2
3
4
| <Connector executor="tomcatThreadPool"
port="8080" protocol="HTTP/1.1"
connectionTimeout="20000"
redirectPort="8443" />
|
2.3 安装MySQL5.1数据库
安装MySQL5.1数据库,使用可视化客户端Navicat等新建ar数据库,编码utf-t,导入数据库表结构ar-mysql-data.sql。
如果数据库用户名密码和项目中ar-parent\ar-portal\src\main\resources\config.properties中不一致,则修改项目配置并重新编译上传服务器。
校友交流平台数据库
三、应用发布
3.1 war包发布
war放在tomcat的webapps/目录下,执行tomcat/bin/下的./startup.sh,tomcat即可启动。
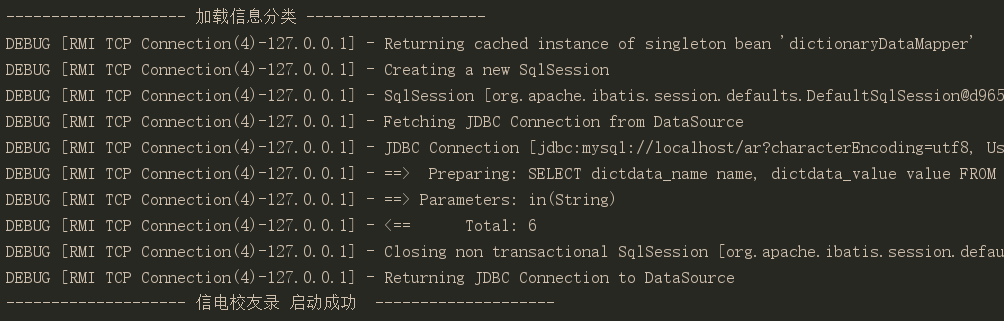
启动过程中可能出现异常,此时可监听tomcat日志,在tomcat/logs/下执行:
监听到如下日志,说明项目启动成功:
校友交流平台启动
3.2 静态资源路径
最初开发的时候,jsp页面中采用如下配置:
1
2
3
4
5
6
7
8
9
| <%
// 获取ar-portal
String path = request.getContextPath();
// 获取 http://localhost:8080/
String basePath = request.getScheme() + "://" + request.getServerName() + ":" + request.getServerPort()
+ path + "/";
%>
<base href="<%=basePath%>">
|
如此,页面中的静态资源文件、a标签超链接和Form的action都以http://localhost:8080/ar-portal/作为基础路径,在本地开发没有任何个问题,当部署到服务器时网站界面一篇空白,我的大脑一阵抽搐,知道肯定是路径出了问题。
经过排查就是这个basePath引起的,部署到公网服务器资源路径应该是http://公网ip:8080/ar-portal/,可界面中静态资源等的路径依然是localhost…
解决路径问题较好的实践是在路径前加入项目环境路径
 1
 2
 3
 4
 5
 6
 7
 8
 9
10
11
12
13
14
15
16
17
18
19
20
21
| <link rel="icon" type="image/jpg" href="assets/images/logo/title-logo.jpg">
<!-- 静态资源路径加入Spring的环境路径 ${pageContext.request.contextPath} -->
<link rel="icon" type="image/jpg" href="${pageContext.request.contextPath}/assets/images/logo/title-logo.jpg">
<a href="ta/show.action?userId=${member.userId}">
<div style="min-height: 125px;">
<img src="${member.portrait}" class="img-responsive center-block"
style="max-height: 125px;">
</div>
${member.trueName}
</a>
<link rel="icon" type="image/jpg" href="assets/images/logo/title-logo.jpg">
<!-- a标签超链接加入Spring的环境路径 ${pageContext.request.contextPath} -->
<a href="${pageContext.request.contextPath}/ta/show.action?userId=${member.userId}">
<div style="min-height: 125px;">
<img src="${member.portrait}" class="img-responsive center-block"
style="max-height: 125px;">
</div>
${member.trueName}
</a>
|
3.3 js中处理环境路径
独立的js文件无法通过 ${pageContext.request.contextPath} 获取环境路径,可以通过location获取contextPath,如下getContextPath()可放在全局js中,这样在任意文件中都可以调用此方法。
 1
 2
 3
 4
 5
 6
 7
 8
 9
10
11
12
13
14
15
16
17
18
19
20
21
22
23
24
25
| /**
* 获取 contextPath
* @returns {string}
*/
function getContextPath() {
var pathName = document.location.pathname;
var index = pathName.substr(1).indexOf("/");
var result = pathName.substr(0, index + 1);
return result;
}
$.post('classroom/joinClass.action', {
"userId" : userId,
"classId" : classId
}, function(data) {
window.location.reload();
});
// 在ajax的url中加入环境路径
$.post(getContextPath() + '/classroom/joinClass.action', {
"userId" : userId,
"classId" : classId
}, function(data) {
window.location.reload();
});
|
整个项目jsp、js的路径翻修一通,那可真是酸爽。
四、Nginx域名解析
自行安装nginx软件,域名商控制台设置域名解析到服务器ip,在/etc/nginx/conf.d/下新建配置文件,文件名任意以.conf结尾即可,如tomcat.conf,配置文件中添加如下内容:
1
2
3
4
5
6
7
| server {
server_name tomcat.blackist.top;
listen 80;
location / {
proxy_pass http://localhost:8080;
}
|
即当通过域名访问时,访问被代理到本地tomcat的localhost:8080服务,通过域名http://tomcat.blackist.top/ar-portal即可访问到部署在服务器上的Web应用。